Showing posts with label Crafts. Show all posts

Monday, July 15, 2013

Doll Jeans

Tomorrow on the calendar is take pictures. Take the time to just go around with your camera and take pictures. You might be surprised at what you get!
But today I'd thought that I'd show you the doll jeans that are finally finished! I did manage to get both pairs out of the shorts, and was pretty happy with the results.

 
What do you think?

 
I have been wanting to make jeans for my dolls for a long time, and now that I have them, I know that I'll be using them a lot.

 
They're perfect for the girl on the go...
 
or just hanging out for an afternoon.


The jeans have elastic in the top (which also came from the shorts!), so I didn't have to use any buttons or snaps. Although this made it easier, one day I would like to try making a 'real' pair of jeans, with snaps and pockets and all that. :)

 
We'll have lots of fun with these jeans!

Friday, May 24, 2013

A Doll's Bouquet

Yesterday, the calendar event was make a bouquet. So we made a doll's bouquet! First we had to pick them.

 
I made the flowers out of tissue paper, toothpicks, and a bit of duct tape. They're not perfect, but they're cute! Each of them are just three circles of paper, with duct tape on the top and bottom.

 
Everyone got to help pick them.

 
Don't forget to stop and smell the roses!

 
A few flowers will brighten any day.

 
And a bucketful is even better!

 
We placed the bucket on the table with a white tablecloth. The flowers stood out nicely against the white!

 
Remember the Easter baskets that we made? The flowers were perfect inside! Which do you like better, the bucket or the basket?

We had a lot of fun both making the flowers and taking pictures with them. If you made a bouquet we would love to see it! Leave a link in the comments, or send us an email at celebratinggirlhood@gmail.com.
Happy flower picking!
Just one more thing...

 
 a doll's bouquet for you!

Monday, May 6, 2013

Cinco de Mayo

Happy Cinco de Mayo! Did you do anything fun to celebrate? We finally got to open our pull-pinata that we made last week.

 
We set up our background with crepe paper and ribbons for a festive look!

 
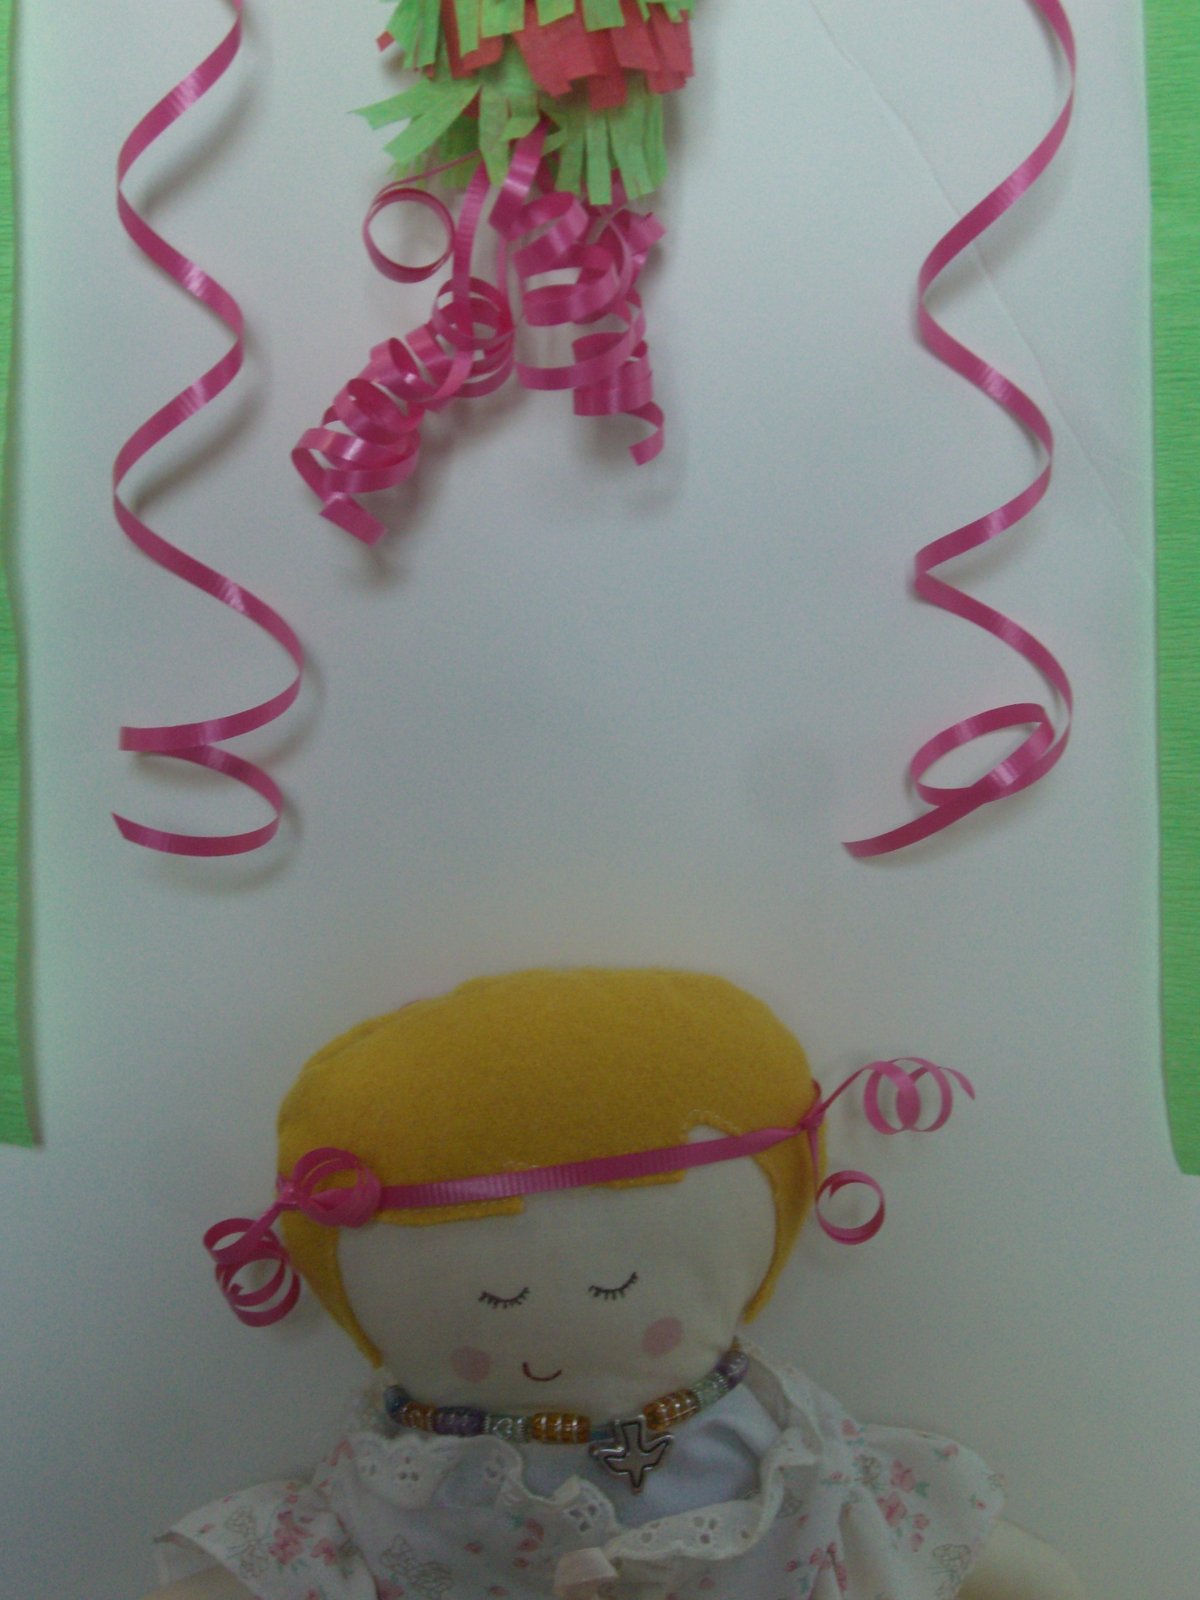
Each of the girls had ribbons on them, too. Robin had an anklet, Marissa had a bracelet, Sophie had a headband, and Jo had a bracelet as well.

 
Then it was time to open the pinata!

 
Sophie sat underneath for a picture before taking her turn pulling.

 
Marissa helped Jo reach up to pull one!

 
Not that one...

 
or any of these!

 
Last one!

 
And all the candy spilled!
We had a great time celebrating Cinco de Mayo with our pinata. What kinds of things did you do to celebrate? Leave a comment and let us know. We'd love to hear about it!


Happy Cinco de Mayo!

Monday, April 15, 2013

Doll Spring Outfits

Yesterday's calendar event was to make dolly spring outfits. I didn't have the time to make anything new yesterday, so I just took pictures of what they already had. These are the same outfits from the rainy day photoshoot, but because they were hard to see under the ponchos, we thought that we'd show them to you today!

 
I made this spring dress for Jo a few years ago. It's pretty simple, but it fits well.

 
The belt is just for decoration, because when we first tried it on, it needed that extra something!

 
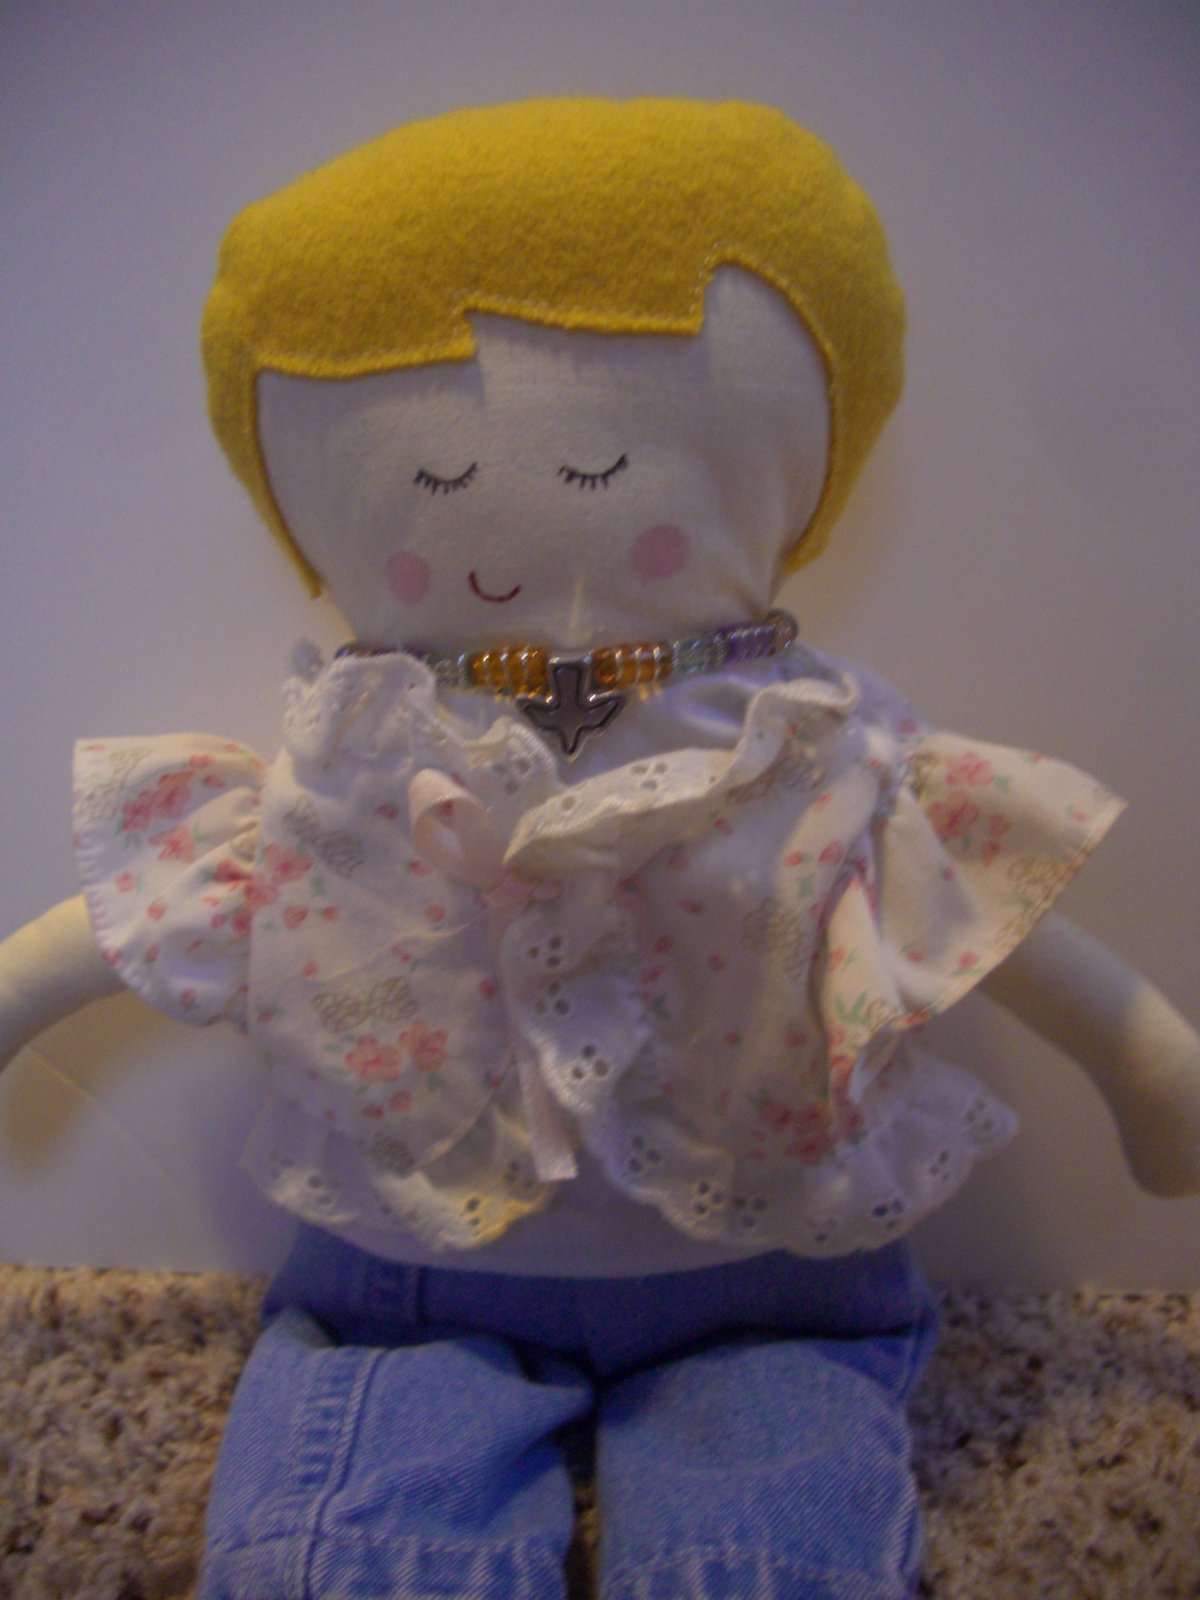
Sophie's outfit has a bit more to it. She's always wearing her necklace, and the blouse/jacket is from another doll's closet. The jeans I made for her.

 
The lacy jacket suits her well, and it's perfect for spring!

 
Robin's shirt is one of my favorite that I've made for her. It's made from the sleeve of an old T-shirt that I really just cut holes into. I hemmed the front, and added the ribbons for decoration.

 
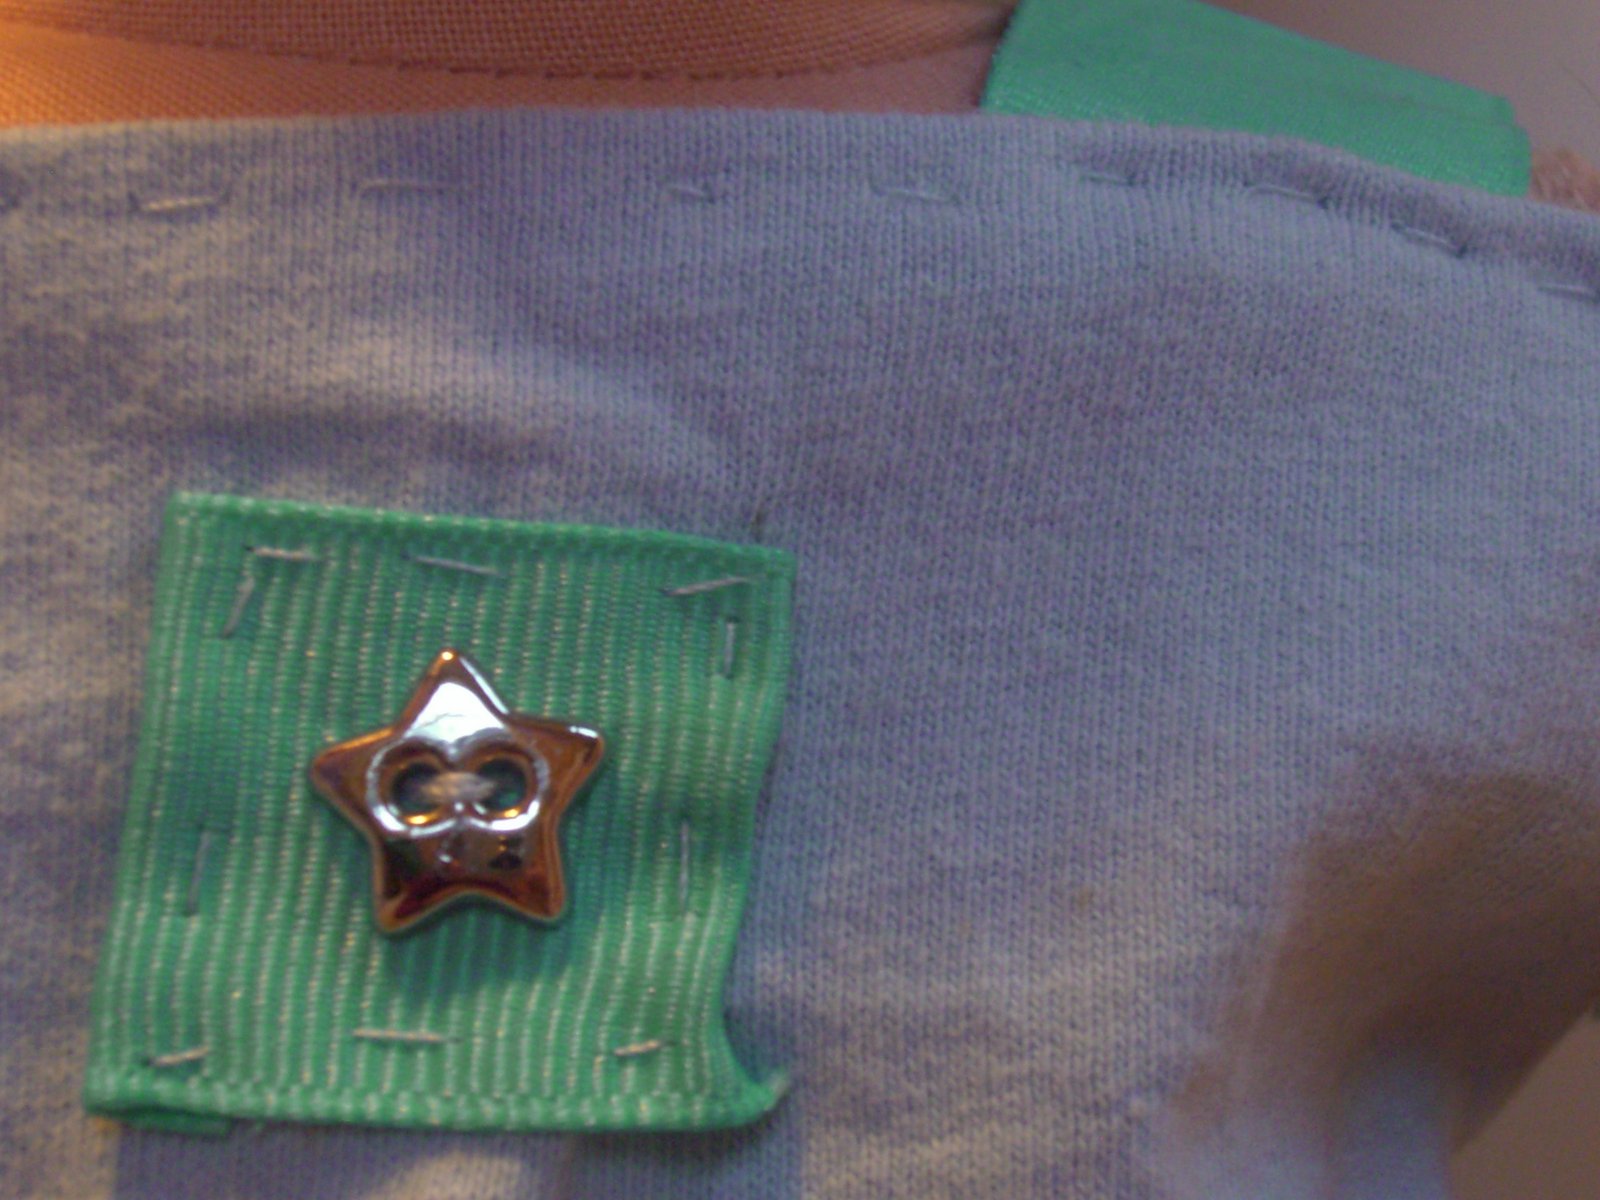
An extra snippet of ribbon and a star button completes the look!

 
I made Marissa's entire outfit a few years ago as well. Both the shirt and skirt were made out of some of my baby clothes. :) Reduce, reuse, recycle!

 
The headband was made from an old pair of leggings of mine, and I have a matching one. The instructions for both can be found in the sewing e-book!

I hope that you enjoyed a peek into their wardrobe! Did you make any spring outfits yesterday? We'd love to see them!
Even if you did make outfits, or you just dressed your dolls in spring outfits from before, enjoy your spring!

Monday, April 8, 2013

Rainy Day Photoshoot

Today on the calendar is have a rainy day photoshoot. So we did! With the crafts that we just made, the girls got all dressed up and went to play in the rain!

 
Who needs an umbrella?

 
Sophie doesn't!

 
Trying to catch raindrops,

 
and twirling the umbrella.

 
It's fun just to play in the rain!

 
Or to take a walk.

 
Rain puddles!

 
Jo splashed around for a bit,

 
And even Robin played around.

 
Skipping in the rain!

 
A rainbow even peeked out of the clouds.

 
Let it rain!

Monday, February 11, 2013

Valentine Hearts

With Valentine's day coming up at the end of the week, I decided that a special freebie was in order. And so, Valentine hearts! With a collection of 20 hearts in different sizes, there's plenty to share with everyone.The page can be found with the other downloads, on the freebie page.


Enjoy!

Monday, October 15, 2012

Beaded Flower Bracelet

I've long liked the look of the beaded flowers that I've seen on bracelets and rings, but never knew how to make one. I finally taught myself how to and thought I'd share the instructions with all of you!

First, choose your colors. You'll need beads for the bracelet, a different color for the flower, and a different color for the center. Even though summer has ended, it would be so easy to make this into an autumnal flower by using fall colors!
I'm using green, pink, and yellow.

Start making your bracelet with the colors that you want. Stop where you want to add the flower.

 
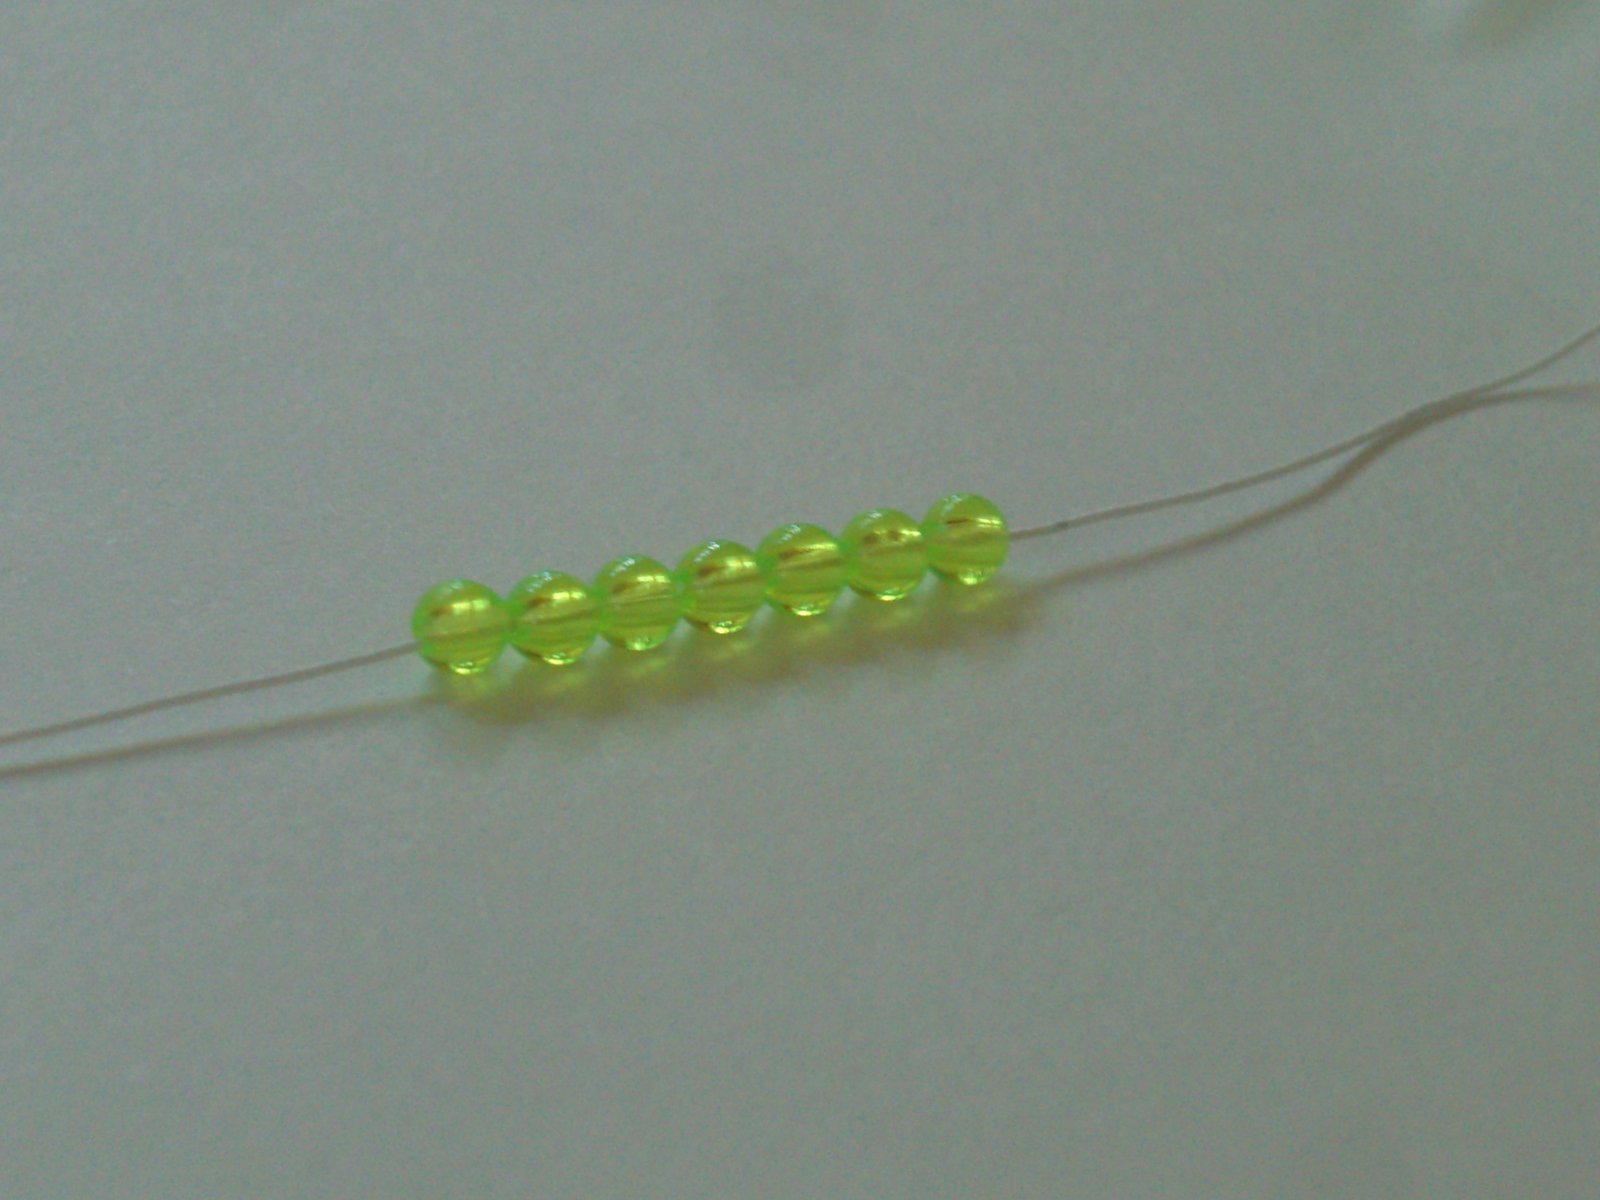
String on six beads in the color of the petals.

 
Thread the string or elastic through the first flower bead so that it passes through twice.

 
String on the center bead.

 
Thread the string or elastic through the fourth flower bead, or the one in the middle.

 
Pull tight, then finish making the bracelet.

 
Slip on your (or your doll's) arm, and wear proudly!