Showing posts with label Crafting. Show all posts

Friday, August 30, 2013

Read a New Book

The calendar event for Wednesday was to read a new book. Since my dolls haven't had any new books lately, I thought I'd make some! 

We printed off the book covers and book paper from the freebies page, and had a lot of fun putting them together and designing them. First we cut everything out...


and then made stacks of three pages. Then we folded them in half, and made a stack of stacks! We used glue for our books.
 
When you fold over the cover, you'll notice that one side is a bit longer than the other. This can be left flat or folded over to help your doll hold it. But you can always cut it off if you want.

 
Books can be anything! We made a book for each girl, and one extra. Designing the covers and deciding what each book should be was so much fun!

 
You can fill your books to make them anything that you would like. A few ideas would be stickers or stamps for a picture book, drawings and stories, pictures cut out from magazines to make magazines or catalogs, a book for pressing flowers, or even a good old-fashioned fairy tale!

 
The possibilities are endless, and you can always stop by the library for more inspiration!

 
The girls had a lot of fun reading the books when they were finished. They read them to each other,

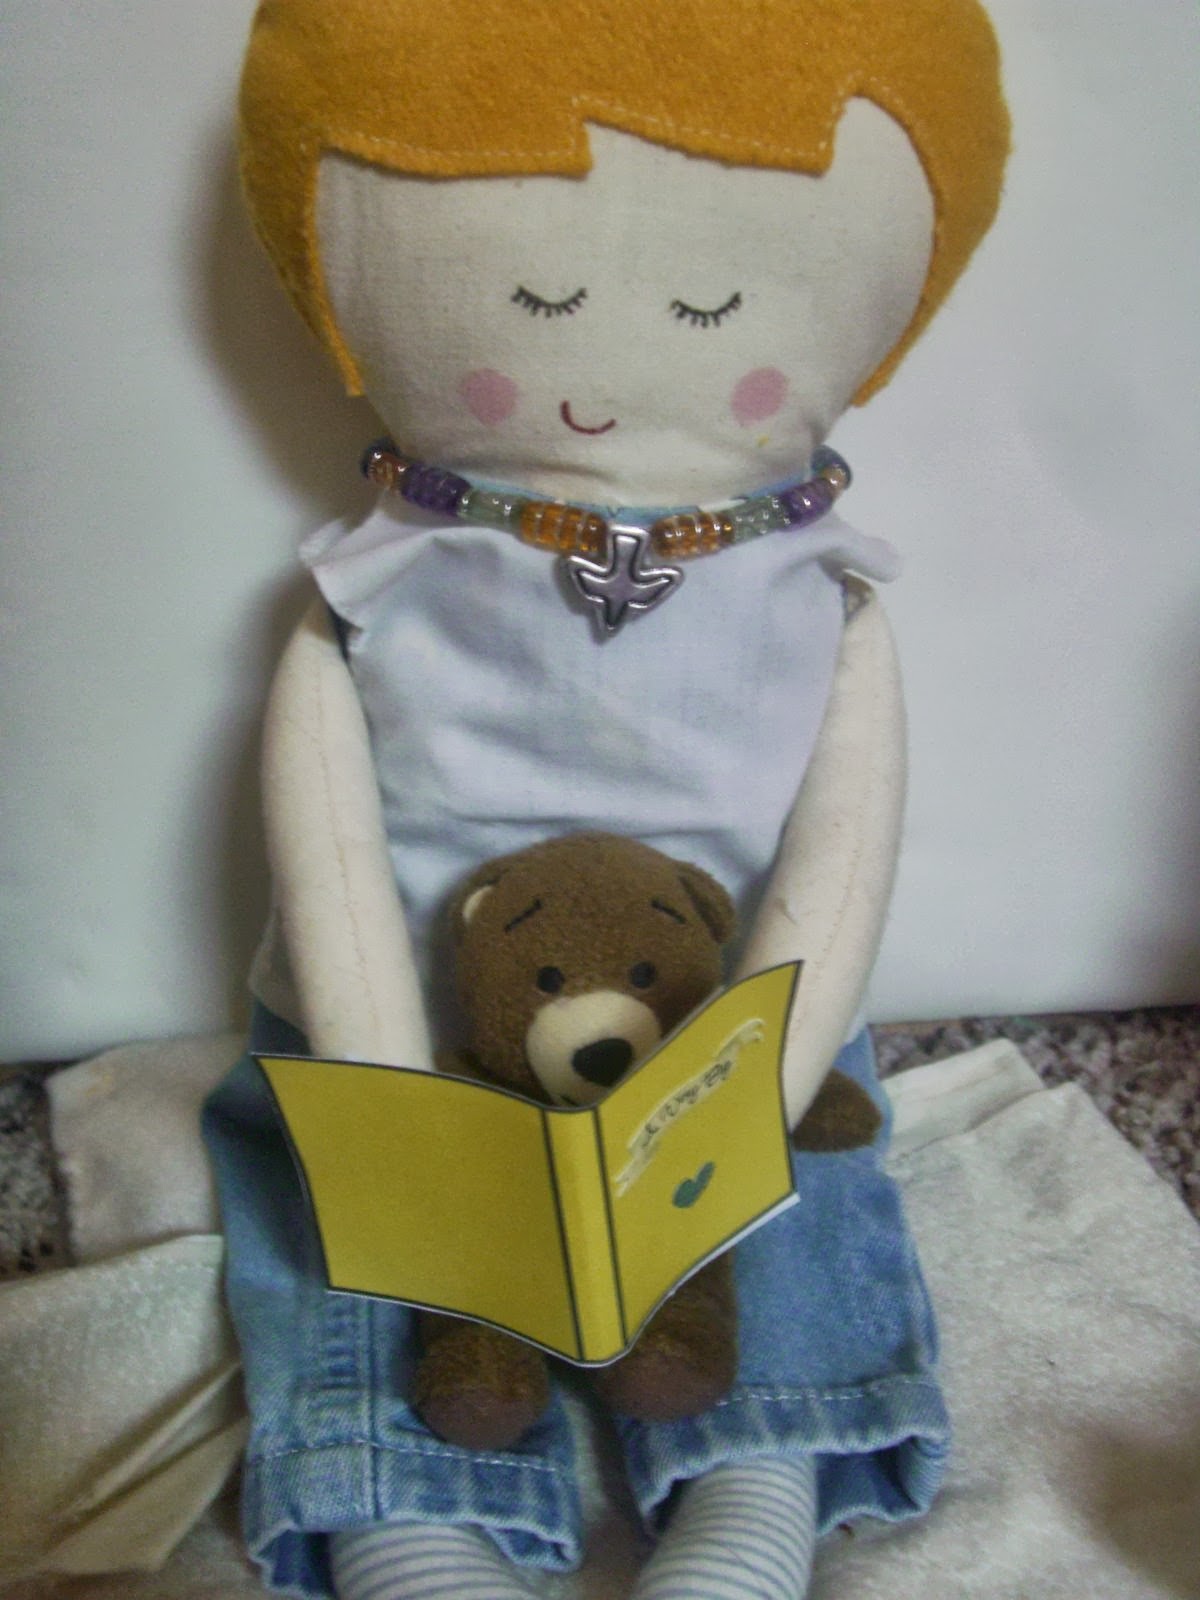
 
to their stuffed animals,

 
and even to their pets!

 
Have fun designing your own books, and don't forget to take the time to read them!!

Friday, June 28, 2013

Doll Dresses//Sewing

I finally finished the doll dresses! It took a bit longer than I thought, but they turned out really cute, so it was worth it. Keep an eye out for a summer photoshoot soon!

I took me the longest to sew up the tops. Making the 'sleeveless' part of the dress is harder than it looks!

(Sorry about the blurry pictures! I was up late finishing them.)

 
The skirts were so much easier to do. I cut out three panels, but stitched up the back of the skirts. The buttons went on the tops.

 
Putting it all together!

 
Making the buttonholes...

 
...and adding the buttons.

 
Done!!

 
What do you think? Do you have any favorite outfits that you've sewn?

 
I might add just a few more finishing touches to both of the dresses. Then its on to the photoshoot!

Wednesday, June 19, 2013

Doll Dresses//Patterns

Remember the summer outfits that I posted about before? Well, I finally began cutting out the patterns! I decided to start with the dresses, because they'll need them for the hot summer days ahead!

Laying out the pattern.

 
And tracing it.
I always trace my patterns so that I don't have to cut them up. I use freezer paper to trace them, because it's easy to trace and cut. I've also heard that you can lightly iron the paper onto the fabric to hold it in place instead of pinning it, but I've never tried. Have you? If you have, let me know how it worked!

 
Measuring,

 
measuring!

 
Robin was so willing to help! It's always lots of fun when your model wants to help. :)

 
Pinning...

 
...and cutting.

 
I found these buttons for the back of the dresses. What do you think? I think that they match perfectly!

 
Done!

 
Now they're all ready to be sewn! In a few more days, both Marissa and Robin will have new dresses for the summer.
What about you? Do you like to sew? or maybe you like a different type of craft. Whatever it is, we'd love to hear about it!

Happy summer crafting!

Tuesday, June 4, 2013

Doll Summer Outfits

Today on the calendar is play outside! Unfortunately, its been raining on and off all day here, so I didn't get a chance to bring the dolls out. So instead, we thought we'd show you what some of our summer projects are!

 
I am planning to make a pair of jeans and a sundress for Robin and Marissa from some of my old clothes.

 
I'm hoping to make two pairs for them out of one pair of shorts. I'm not sure if it will work, but I'm going to try!

 
I also really like the hearts on the pockets, but I don't know what to do with them. Any ideas??

 
I'm using these shorts to make the sundresses. Blue for Robin, and pink for Marissa.

 
Those are their favorite colors; could you tell? :)

 
Looking  pretty!

 
I'm kind  of basing the clothes of off this pattern. I'll be modifying a lot, but I usually do, so hopefully it won't be much of a problem!

Do you have any fun summer clothes for your dolls? Or are you planning on making any? We'd love to hear about them!

We'll keep you updated on the progress, so don't forget to check back! After these are finished, we might just have to go out for a photoshoot. :)

Have fun playing outside!

Friday, May 3, 2013

Pull-Pinata

Are you ready for Cinco de Mayo? The fifth of May can be filled with so many different crafts and treats, but a pinata is a must-have! This year, we decided to make a pull-pinata, where everyone takes turns pulling ribbons to open it. It's a lot of fun, and much safer than swinging a stick around!

 
You need:
a toilet paper tube
thin cardboard (like from a cereal box)
curling ribbon
tissue or crepe paper (or both!)
tape
candy

 
1. Cut a circle of cardboard to fit the end of the toilet paper tube. Cut open a small trapdoor in the circle, making sure to leave one side uncut.

 
2. Tape the circle onto the tube. Tape one ribbon under the trapdoor. Tape a few more ribbons to a square of tissue or crepe paper, then pull them though. It should look like this:

 
3. Tape the paper over the circle and thread the trapdoor ribbon through it.

 
4.Curl the ribbons. Snip the paper into a fringe, and tape around the edge.

 
5. Continue adding strips of paper until the tube is covered.

 
6. Fill with candy. Tape another square of paper over the top and tape a ribbon for hanging.


7. Hang up and take turns pulling ribbons!

This is such a fun and easy craft to do. And it's so exciting to see who will open the door and let the candy fall!

Monday, April 22, 2013

Earth Day!

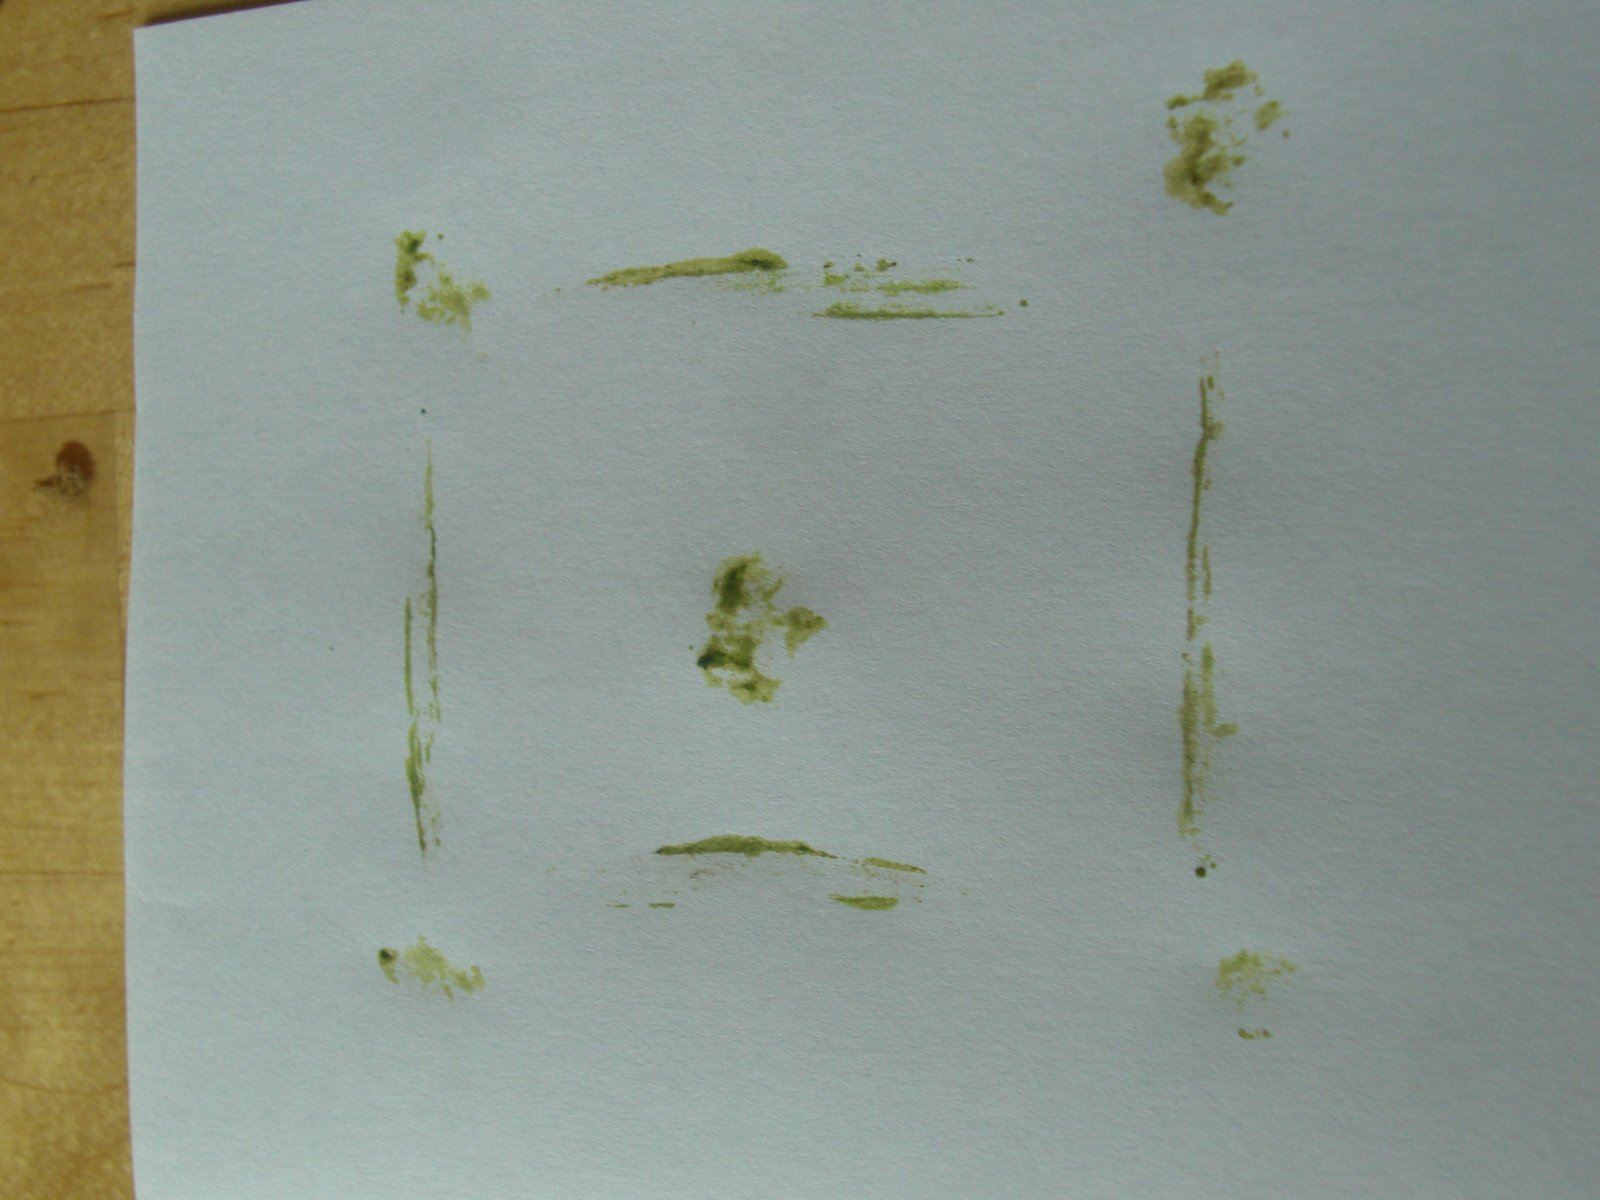
In honer of it being Earth Day, I decided to make a 'green' craft! These pressed grass prints are perfect for any time when you need something quick and unique. You can make these into whatever you would like, such as cards, art prints, bookmarks, stationary, or anything else that you can think of!
All that you really need is a handful of green. Grass, leaves, or even flowers can be used. Find however much you want, just remember that you probably won't use all of it, so don't pick too much!

 
Lay your leaves on a piece of paper in your design. Try different patterns, shapes, or pictures.
Place a piece of waxed paper on top of your design, then smash! You can use your fingers for some plants, but for most you will have to use a heavy object. You can use the corner of a piece of wood, the back of a spoon, or a hammer (be careful!). You also may want to place another piece of paper underneath the one you're printing on, as the design might go through.

 
When you're done pressing, lift up the waxed paper. Let the paper dry.

 
You can add a few finishing touches with pencils or markers.

 
And you're done! Now you can surprise someone with a homemade Earth Day card.


Happy Earth Day!

Friday, April 5, 2013

Make it a Rainy Day!

The calendar event on Monday is to have a rainy day photoshoot. But we didn't have anything for it! So we made up a few things, like a rain poncho, umbrellas, and even a rainy day background!

For all of the crafts you will need acrylic paint. I didn't try using anything else, so I don't know what else would work. But if you don't have acrylic paint, you could use stickers, or maybe try other types of paint. If you do try something else, leave a comment and let us know how it worked!

For the rain poncho you will need:
a plastic grocery bag
paints

 
1. Cut out a 12" by 12" square from the bag.
2. Fold it in half on the diagonal, then fold again. Cut off the tip. Ours were cut about an inch from the top, but you may have to make yours longer or shorter, depending on your dolls.
3. Decorate with paint and let dry.
4. Slip over your doll's head and play in the rain!

For the umbrellas you will need:
plastic grocery bags
paints
toothpicks
plastic straws

 
1. Cut out a circle, about 6" in diameter.
2. Decorate with paints and let dry.
3. Glue on the toothpicks in a star shape. We used rubber cement, which allowed them to move up and down. But you could use other glue too!
4. Glue the straw to the middle. If you are using rubber cement, you will need to prop this up.

For the rainy day background:
waxed paper
paint
paper
colored pencils

 
1. Tear off as much paper as you need, then paint on the raindrops!
2. Tape to your wall or background.
3. Color rain clouds and a rainbow.
4. Tape the clouds and rainbow to the rain.

We had a lot of fun making all of these rainy day crafts! And we even had enough of the bags left over to make ponchos for Jo...

 
And for Sophie!

 
The girls had fun playing in the rain, which we'll share on Monday. Do you like to play in the rain? What're your favorite things to do?

 
Happy rainy days!